Index Background

3 Back-to-School Hairstyles

by Rachel August 22, 2016


Hey there, everyone! My name is Rachel and I’m a fashion/lifestyle blogger over at my website, Rachel Lynn. I don’t know about you, but I am so excited for the upcoming school year. There’s always something magical in the air this time of year. Everyone is buying new clothes, school supplies and crafting the perfect back to school haircut, which brings me to the topic of this post. Today I will be discussing my top 3 favorite hairstyles featuring the Remington curling wand, perfect for back to school!

I know when I’m trying to get work done I need my hair out of my face. If I’m constantly touching my hair because it’s in my face, I immediately start wondering if my hair still looks good and then it all goes downhill from there!

Productivity- 0
Hair- 1,237

So without further ado, my top 3 favorite hairstyles featuring a curling wand, perfect for back to school!


CURLS WITH BRAID

When I was in high school I wore this style braid all of the time and recently it’s made quite a comeback.

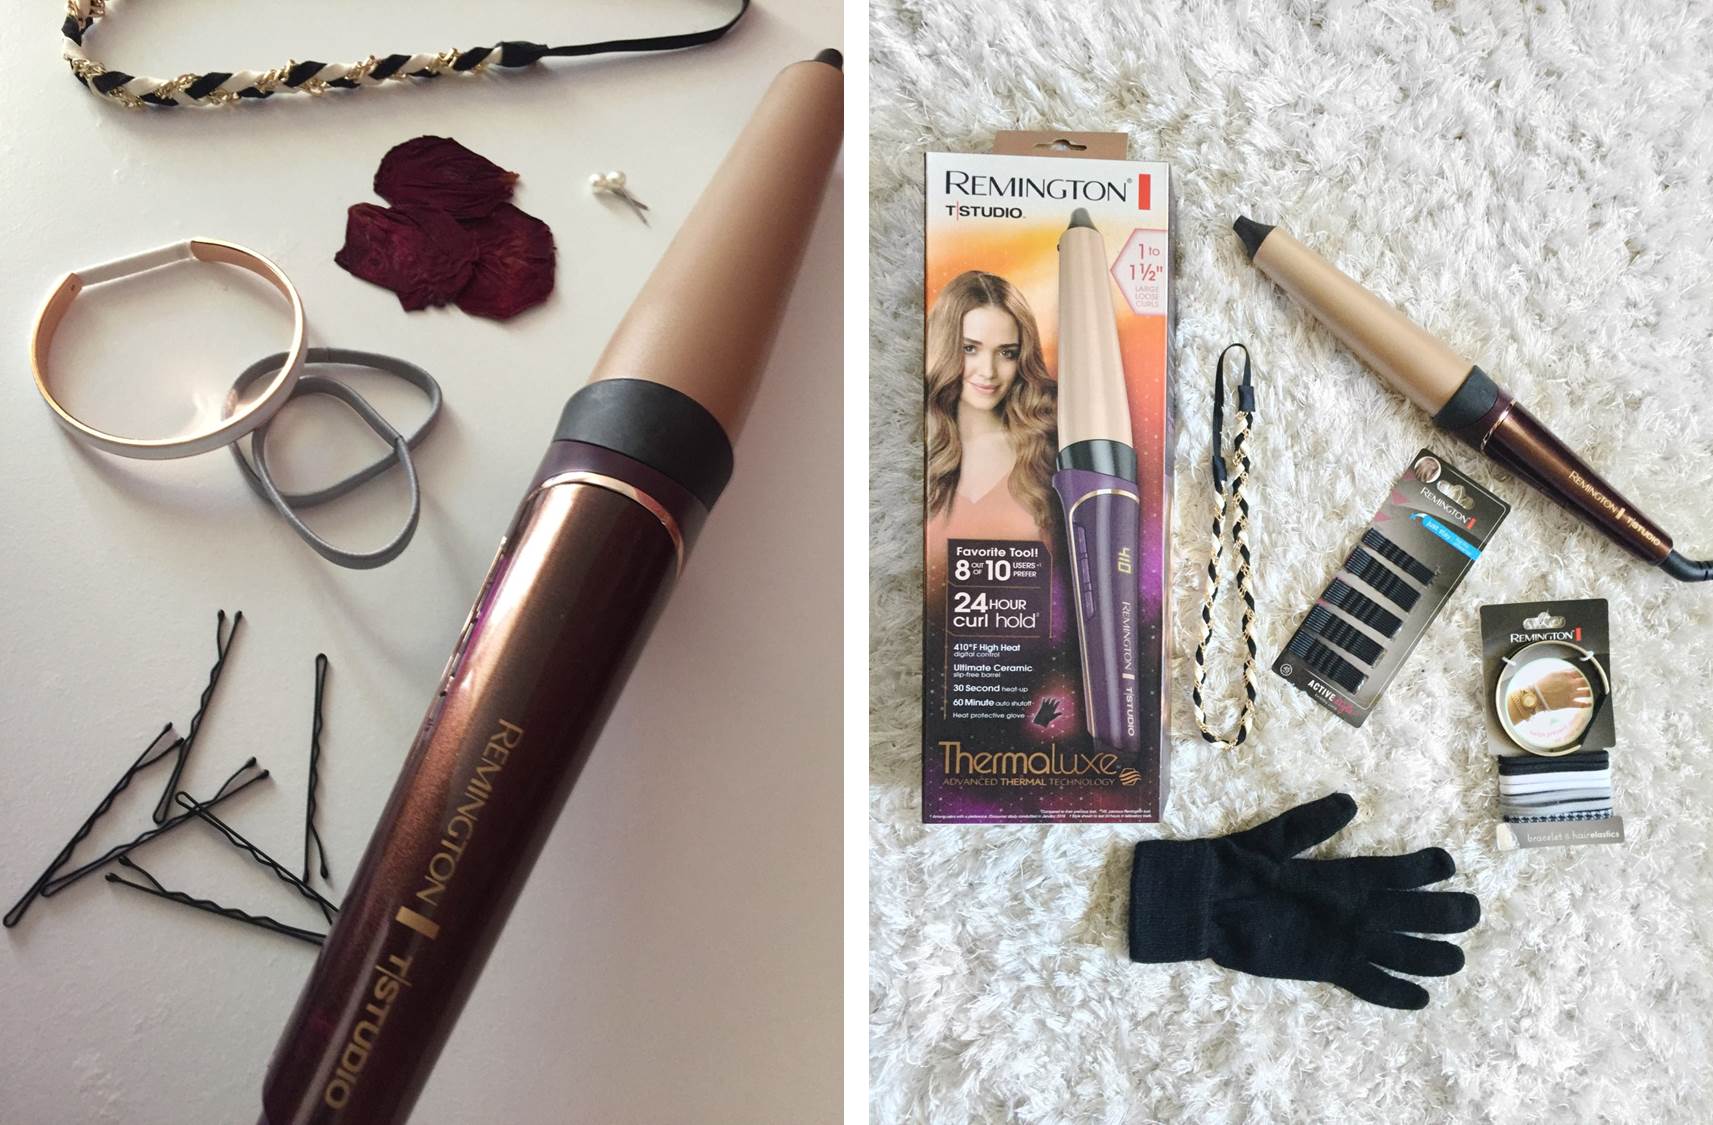
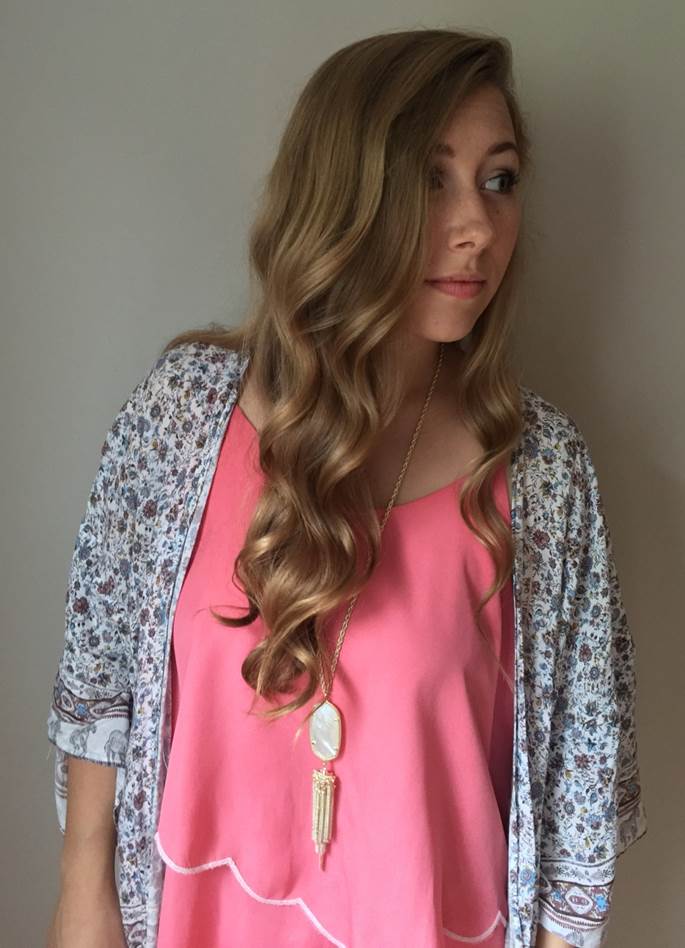
I start by curling my hair using the Remington T|Studio Thermaluxe Curling Wand. This wand is amazing because it heats up in only 30 seconds and curls hair even faster. Talk about fast results! I always curl my hair away from my face. This gives the look a more wind blow, beachy effect—very flattering!



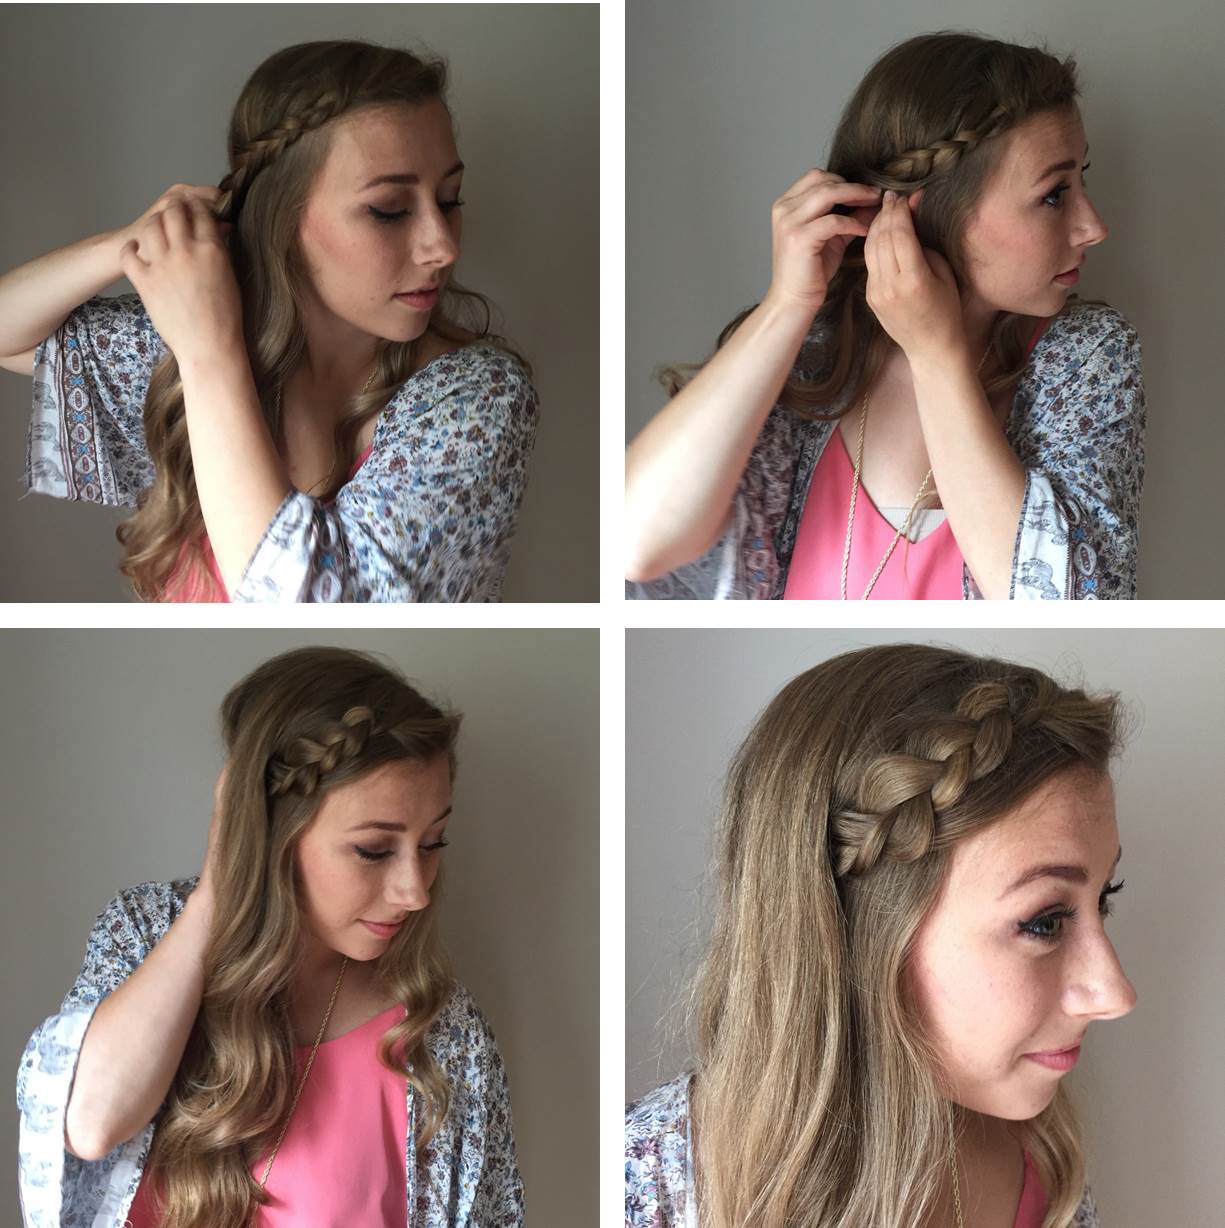
After that, I grab a section of hair from the front of my head and separate that into three equal parts. For this style, a Dutch braid is best. Take the two end pieces and braid them under the center piece. This gives the braid a more 3D effect.


Stop braiding once you reach your ear and secure the braid behind it. Now, all you need is a spritz of hairspray and you’re ready to go!


HALF-UP BUN

This is another quick and easy hairstyle, ideal for those lazy mornings you don’t want to put too much effort in, but still want to look cute!
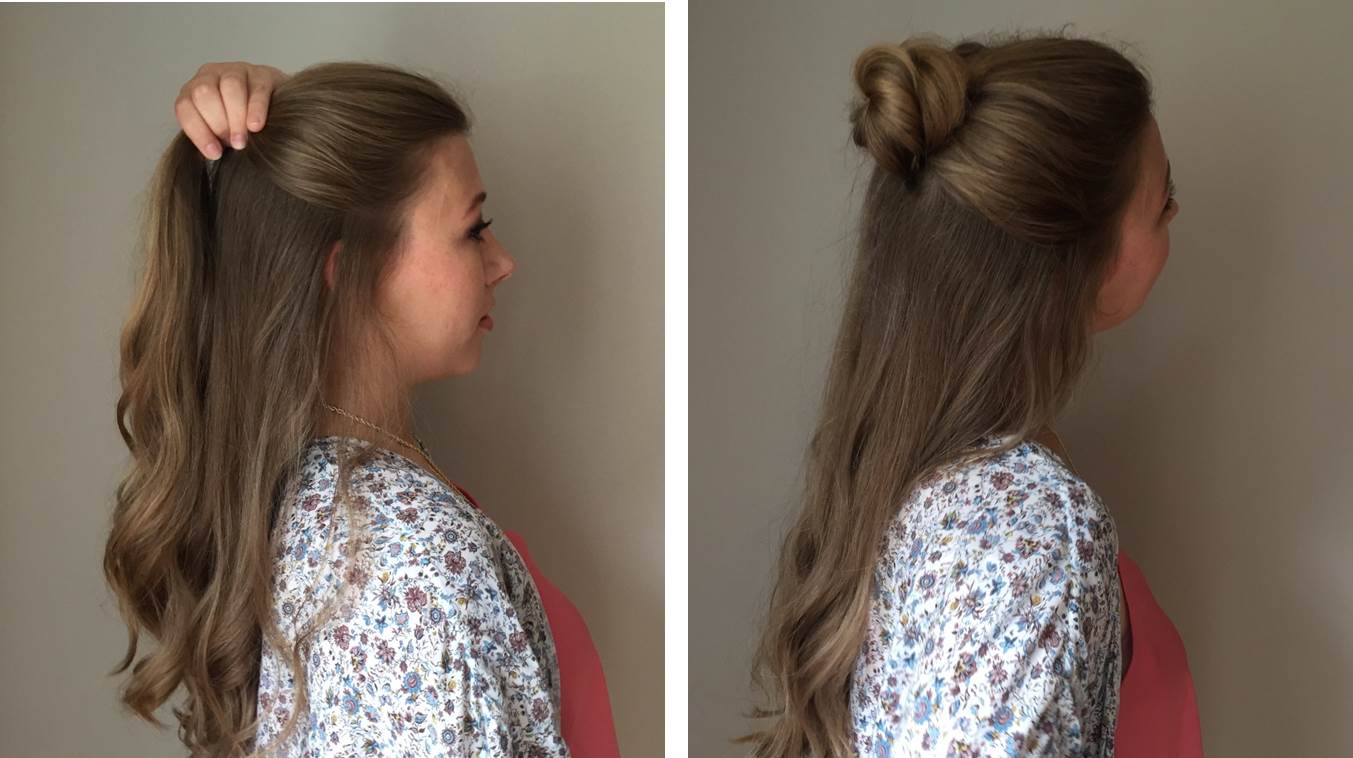


I always start off this style by putting my hair up. Section off the top half of your hair and put it in a tight, messy bun. This is a lifesaver on mornings when you want to look cute and save time doing it. You only need to curl the bottom half of your hair. Believe me, if you’re anything like me and most mornings are a blur of foundation and toothpaste, the quicker the hair style, the better!


DAY 2 PONYTAIL

Okay, lets be real. I could wear this style any and every day, regardless of when the last time I showered was. However, if you were up late studying the night before and didn’t have time to wash your hair, DON’T PANIC! On mornings like these, I spritz a little dry shampoo into my hair before throwing it up into a high ponytail. If this is your second day of curls then a light touch up and a cute headband is all you need before you’re ready to walk out the door!

Even if you’re starting fresh, this style is super fast and easy. I don’t know why, but curling my hair when it’s in a ponytail is always quicker for me to do than otherwise!
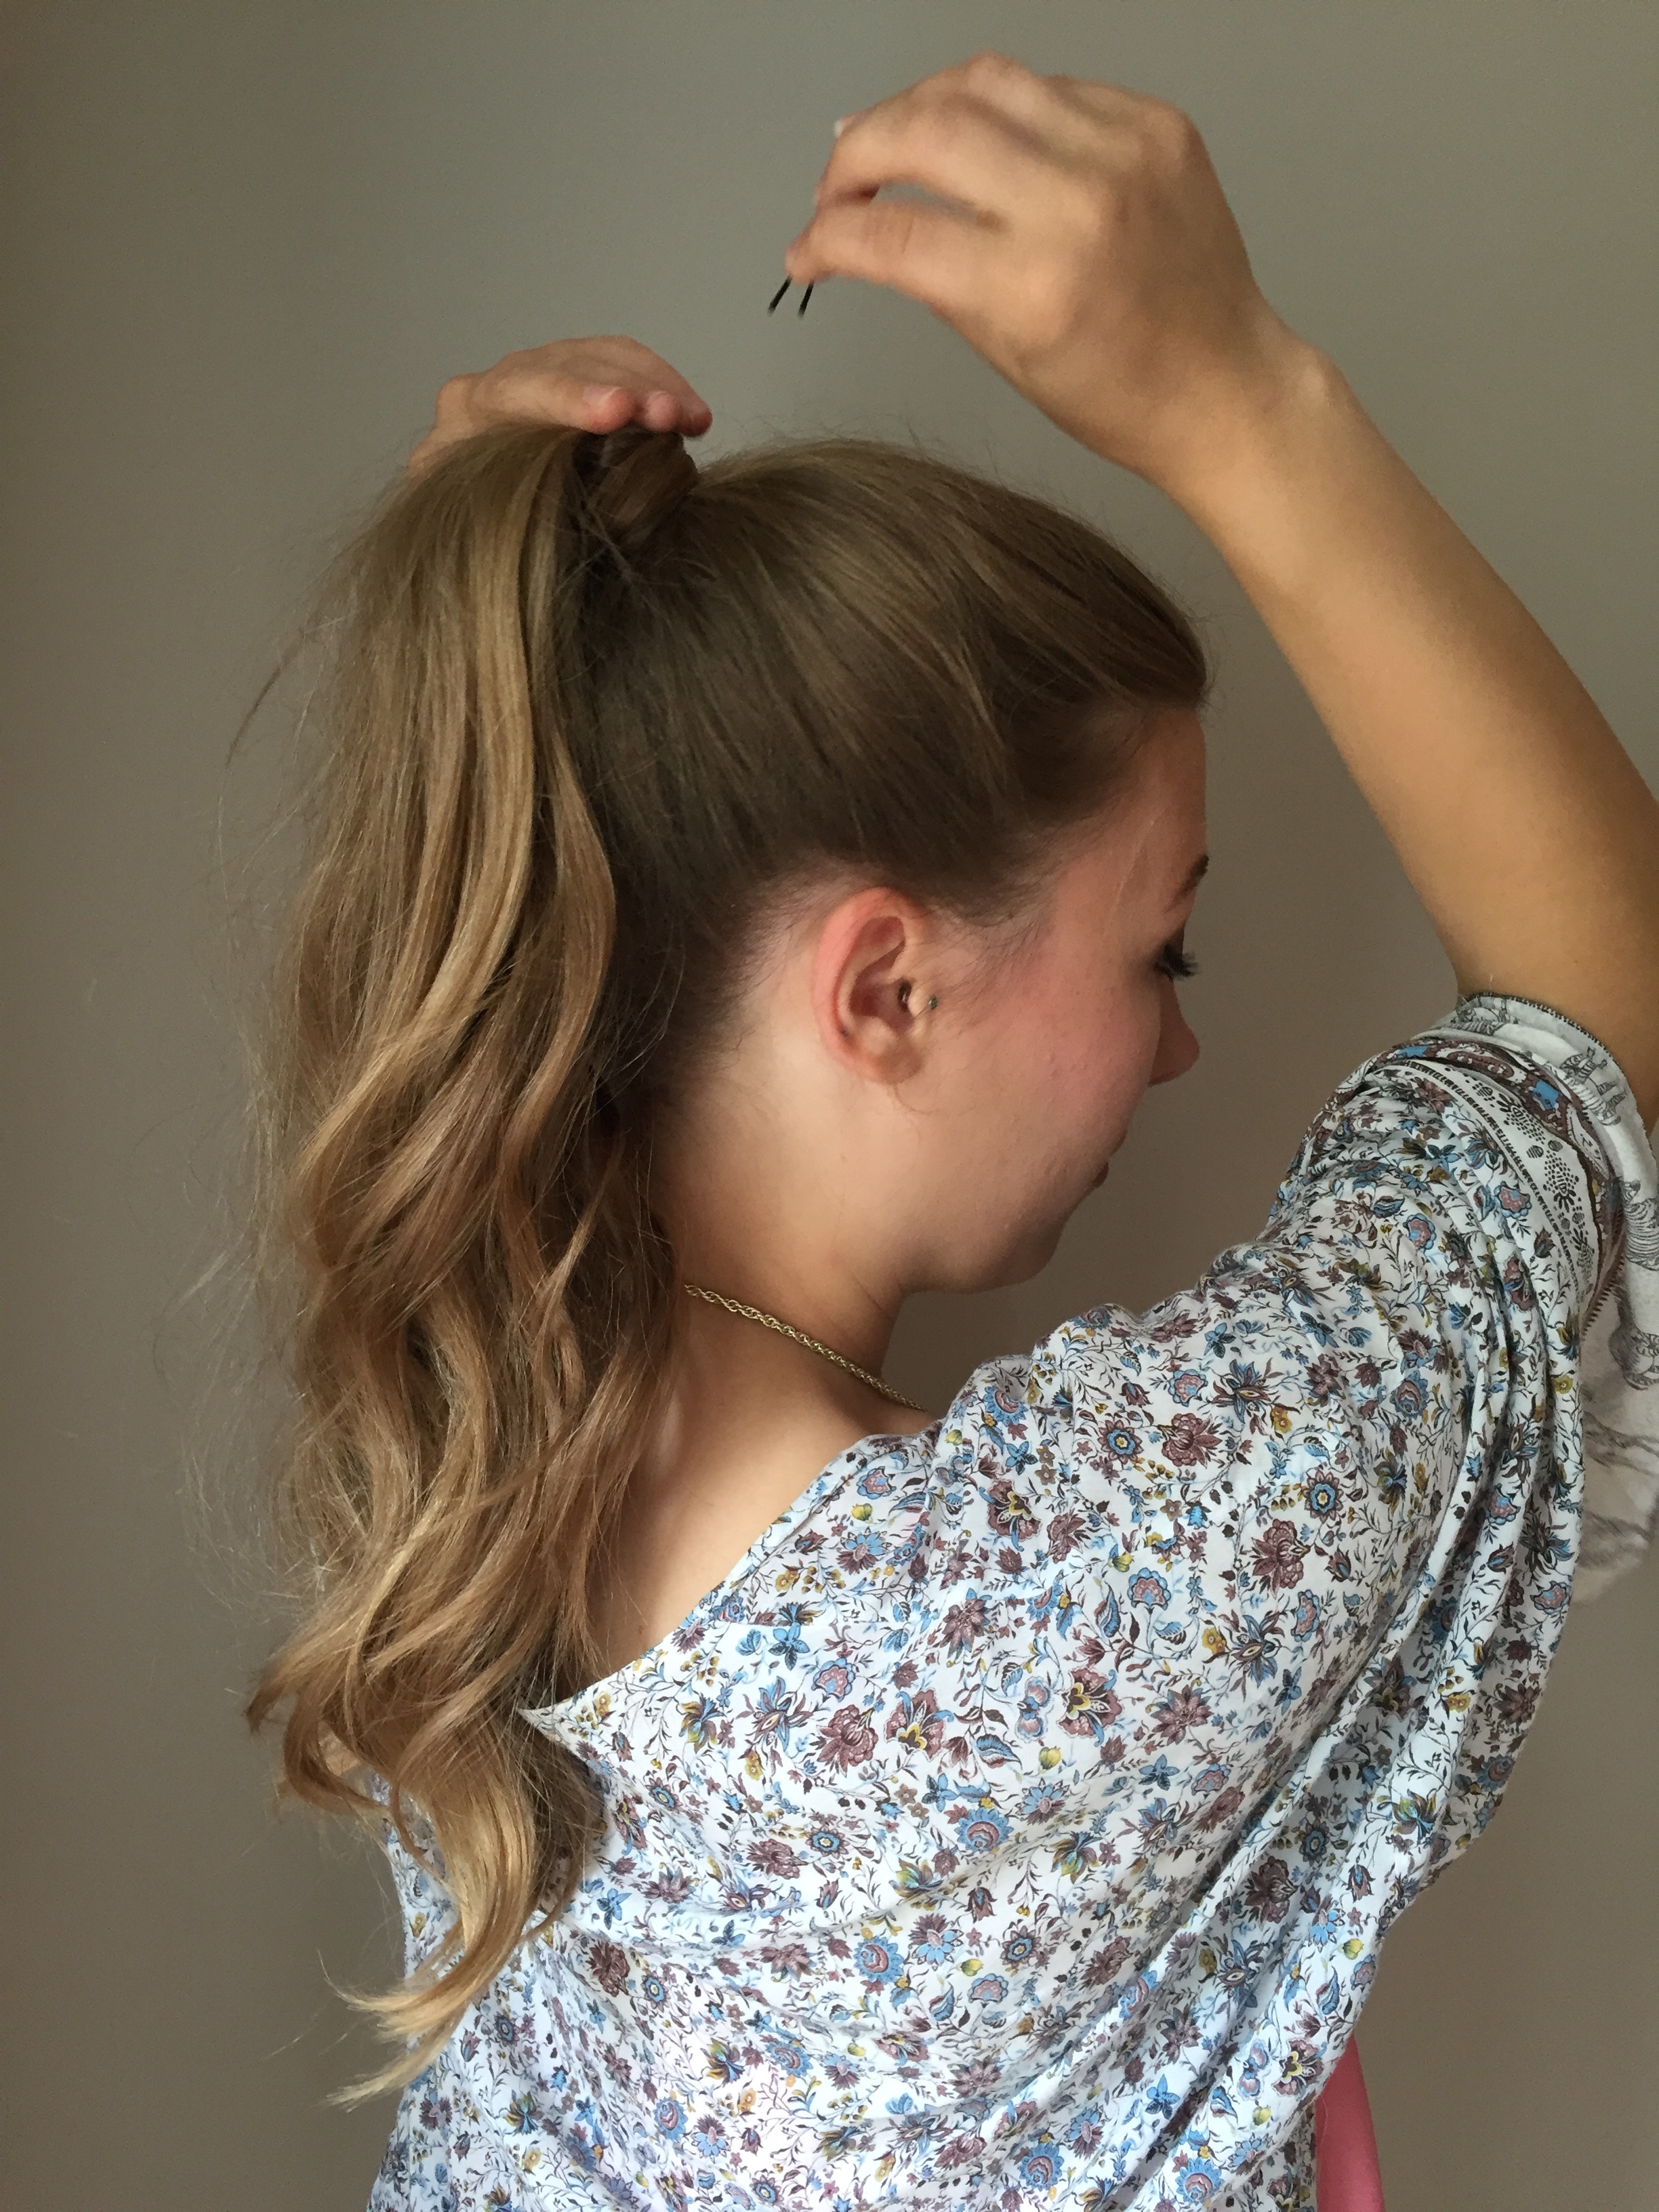


For a clean look, take a piece of the ponytail, wrap it around your hair tie, and secure firmly. Now you have a look that took less than 10 minutes, is chic, but also effortless. Sounds like a win-win to me!


xoxo,
Rachel Lynn


3 Different Curls from 1 Styling Tool

by Kelsey August 15, 2016


Hey Ya’ll! Kelsey from Chasing Cinderella Blog here and I’m excited to partner with Remington® to show you how you can get three different curls from one styling tool!

Remington sent me the T|Studio™ Thermaluxe™ Curling Wand and I am amazed at the quality! The ultimate ceramic barrel is cone shaped, sized from ¾” to 1”, and produces medium to large sized curls. My favorite part about this curling wand may be the fact that it has a 30-second heat-up time and a 60-minute auto shutoff! This is perfect for those of us who always forget if they remembered to turn off their iron!

The best part about the Remington Thermaluxe Curling Wand is that you can create three different looks using the same iron! Because this wand has non-slip ceramic barrel, your hair won’t slide off the rod, making it super easy to create different style curls! Below I am going to show you three different ways to curl your hair using this Remington curling wand: full curls, combo curls, and spiral curls.


Full Curls

This is the way that I usually curl my hair every day. It gives you more of a “Shirley Temple” look, with full, loose curls. To create this look, wrap your hair around the rod, keeping it flat against the barrel the whole way.


Combo Curls

This will give your curls a more textured look. You want to wrap your hair flatly at the top, wrap it around a few times, and then twist your hair the rest of the way around the rod. This will give the curls two different looks that combine for an awesome style.


Spiral Curls

This way will give you a twisted curl look. When creating this look, you want to first twist your hair tightly, spray some hairspray onto it, and then wrap the twisted hair around the curling wand! When you are finished twisting and curling all of your hair, you may think you look a bit scary- the trick is to brush out these curls with your fingers!


There you have it—getting three different curls by using one styling tool! Thanks so much for reading!

Xo Kelsey, www.chasingcinderellablog.com


Easy Flat Iron Curls

by Lauren April 12, 2016

Hi my name is Lauren and I am obsessed with beauty, all kinds of beauty not just skin deep but all of it. Today I show you how I style shoulder length hair, more commonly known these days as the lob. What I will be doing is a messy look using the Remington UV Ceramic Flat Iron to achieve very effortless curls. I hope you guys like it and are inspired to try it.


See more from Lauren on her blog Lauren O Lauren

Elegant Updo Tutorial

by Tiffany Lee February 1, 2016


I’m Tiffany Lee, a celebrity hairstylist and makeup artist, taking a moment as a Remington Ready Guest Blogger! On my channel, you will find anything beauty related such as makeup tutorials, hair tutorials, swatches and reviews, and fashion related videos! Today, I’m sharing the how to create a Romantic Loose Updo using the Simply Wrap n Go Curling Wand.


See more from Tiffany on her Youtube Channel


Learn more about the T|Studio Silk Curling Wand


Bohemian Curls Tutorial

by Busola January 15, 2016


Happy New Year everyone! My name is Busola Coutts and i am a guest blogger today on Remington. It is a new year and that always marks a time for new beginnings, new changes or just an excuse to have something new.
Hair is always one of those things i consider when i want a significant change, especially with my look. So today, i will be sharing a few quick and easy steps of how i went from straight hair to medium shag curls with a bohemian touch to it.


What you need:
1. Remington 2-in-1 Curling Iron
2. Remington Hair Clips. This is a complete set with two different hair clips and bobby pins in gold and silver.


Step 1: First, turn on the curling iron to start getting hot while you work on your hair. Pull out a few strands of hair on both sides and braid. Hold up hair that may be in the way while you braid by using the Remington bobby pins in the hair clip pack.


Step 2: You can either start from the sides or the back twisting a few strands of hair together. Then curl the twist with Remington curling iron set on 30 degrees.

Continue with this step by working your way to the top. Remember to leave out the fringe if you have one and if you don't you can easily get one by trimming your hair in front (only if you are comfortable with that) or you may just leave it as is.


Step 3: Once you have curled the entire hair except for the fringe start taking the curled up twists apart with your fingers. If you don't have a fringe you can always curl your entire the same way.

Then simply run your fingers downwards through your hair to loosen the curls to achieve that shag do. For more loose curls, gently brush it out with a wide comb hair brush.


Step 4: Time to pin down the individual braids on both sides to the back of the hair. You can have the braids slightly below the center of the back of your head which I prefer...

Or you can pull it even further down low. It depends on how long and how far your braids can go to meet in the middle.

After securing the braids in place, I pulled out a little bit of hair over the point where the braids meet and I locked them down with the Remington triangle hair clip for a trendy and stylish look.


The Final Result


The shag hairstyle has been and will always be a hot and trendy hair-do especially now. It is easy to maintain, very daring and great for a night out with friends or for that every day chic look. For more helpful hair tips, check out my blog in www.thefashionstirfry.com


Learn more about the 2-in-1 Curling Iron

The hair clips are available at Target


Bouncy Curls Tutorial

by Lauren January 13, 2016


Hi my name is Lauren, I'M from the beautiful island of Jamaica. I'm beauty and lifestyle blogger. This is a tutorial on how I curl my hair, so that I can have big voluminous curls using the Remington two in one curling iron. I have always used Remington products in the past and I am very impressed with this product it's pure genius. The iron gets hot very quickly and cools down fairly quickly also after plugging it out, it gives your hair springy curls after only a couple seconds and the curls last all day. I will be using the wand to give my hair lasting curls and then attaching the second part of the wand that turns it into a regular curling iron to curl the front of my hair. I hope you enjoy this tutorial and definitely give it a try.


See more from Lauren on her blog Lauren O Lauren


Learn more about the 2-in-1 Curling Iron


Elegant Updo Tutorial

by Isabel Victoria January 7, 2016


Hello everyone, I'm Isabel and in this video I am showing you how to create a super simple, yet elegant and chic, side-swept up do! First step is to curl all of your hair using Remington's 1/2-1 inch T Studio Silk Ceramic slim curling wand! You should end up with bouncy, tight, and fun spiral curls! Then, taking the Simple Twist styling pin, you will create the simple side twist! Add a braid or two, curl some loose pieces, and you're done! This hairstyle is so simple, yet looks intricate enough to be professionally done! This is the perfect look for you sophisticated girls out there to sport at this season's holiday parties! I know you will all feel gorgeous wearing it!


See more from Isabel on her Youtube Channel


Learn more about the T|Studio Silk Curling Wand


Learn more about the Simple Twist Styling Tool

Fall Hair and Makeup Tutorial

by Becca Leah November 23, 2015


Hi everyone!

I'm Becca and I'm a guest blogger here on the Remington Channel. I create beauty and fashion videos over on my Youtube channel (Becca Leah). In this video I show you how I get ready for a Fall day by using my 2-in-1 Curling Iron by Remington. For this look, I created a smoky eye with a bold dark purple lip to add some fall colors into my normal makeup routine. This 2-in-1 Curling Iron is so easy to use and it leaves my hair looking voluminous. The curls last all day!


Buy your own 2-in-1 Curling Iron here


Braided Fall Waves

by Diana November 9, 2015


Hey everyone! My name is Diana and I'm a Canadian blogger over at 204 Park from Edmonton, Alberta. I'm SO excited to be guest blogging for Remington because today, I'll be sharing a fun braided look with one of my favorite hair tools!


Summer may long be over but that doesn't mean you need to give up your beach-y waves. Today I've got a simple braided hairstyle that's perfect for fall! All you need is your Remington 2 in 1 curling iron a few bobby pins, a hair clip, elastics and some hairspray.


Step 1: Start with your straight or natural hair and section away to begin curling. I like to clip the top half of my hair up to start at the bottom and work my way up in sections. 


Step 2: Curl your hair into loose waves. For a more natural wave, swap the direction of your curl as you move along to each section. For example, if you start your first curl with an "over curl" (wrapping your hair over the curling iron), curl your next piece with an "under curl" by starting to wrap your hair under the curling iron. 


Step 3: Once your hair is nicely curled use a quick shot of hairspray and run your fingers lightly through the curls so they look loose and natural. Then section the top 1/3 of your hair into two smaller sections along your part and start a simple braid in each section. Secure with an elastic.


Step 4: Pull the two braids towards one another and then, loosening a section in one of the braids, pull the other braid through so the two intertwine.


Step 5: Secure with bobby pins and hairspray then remove the elastics at the end of the braids for a natural look


With that you've created a simple fall braid that is perfect for fall.

Happy hairstyling babes!


Favorite Hair Products

by Jessica P. September 3, 2015


Hey guys! My name is Jessica. I hope you guys enjoy my recent favorite hair products. Most of the products mentioned I highly recommend for people with naturally wavy hair. Thank you guys all for watching :) Be sure to check out my tutorial for the Oval Waving Wand.


See more from Jessica on her Youtube Channel Jessica P.


Get your own T|Studio Silk Oval Waving Wand