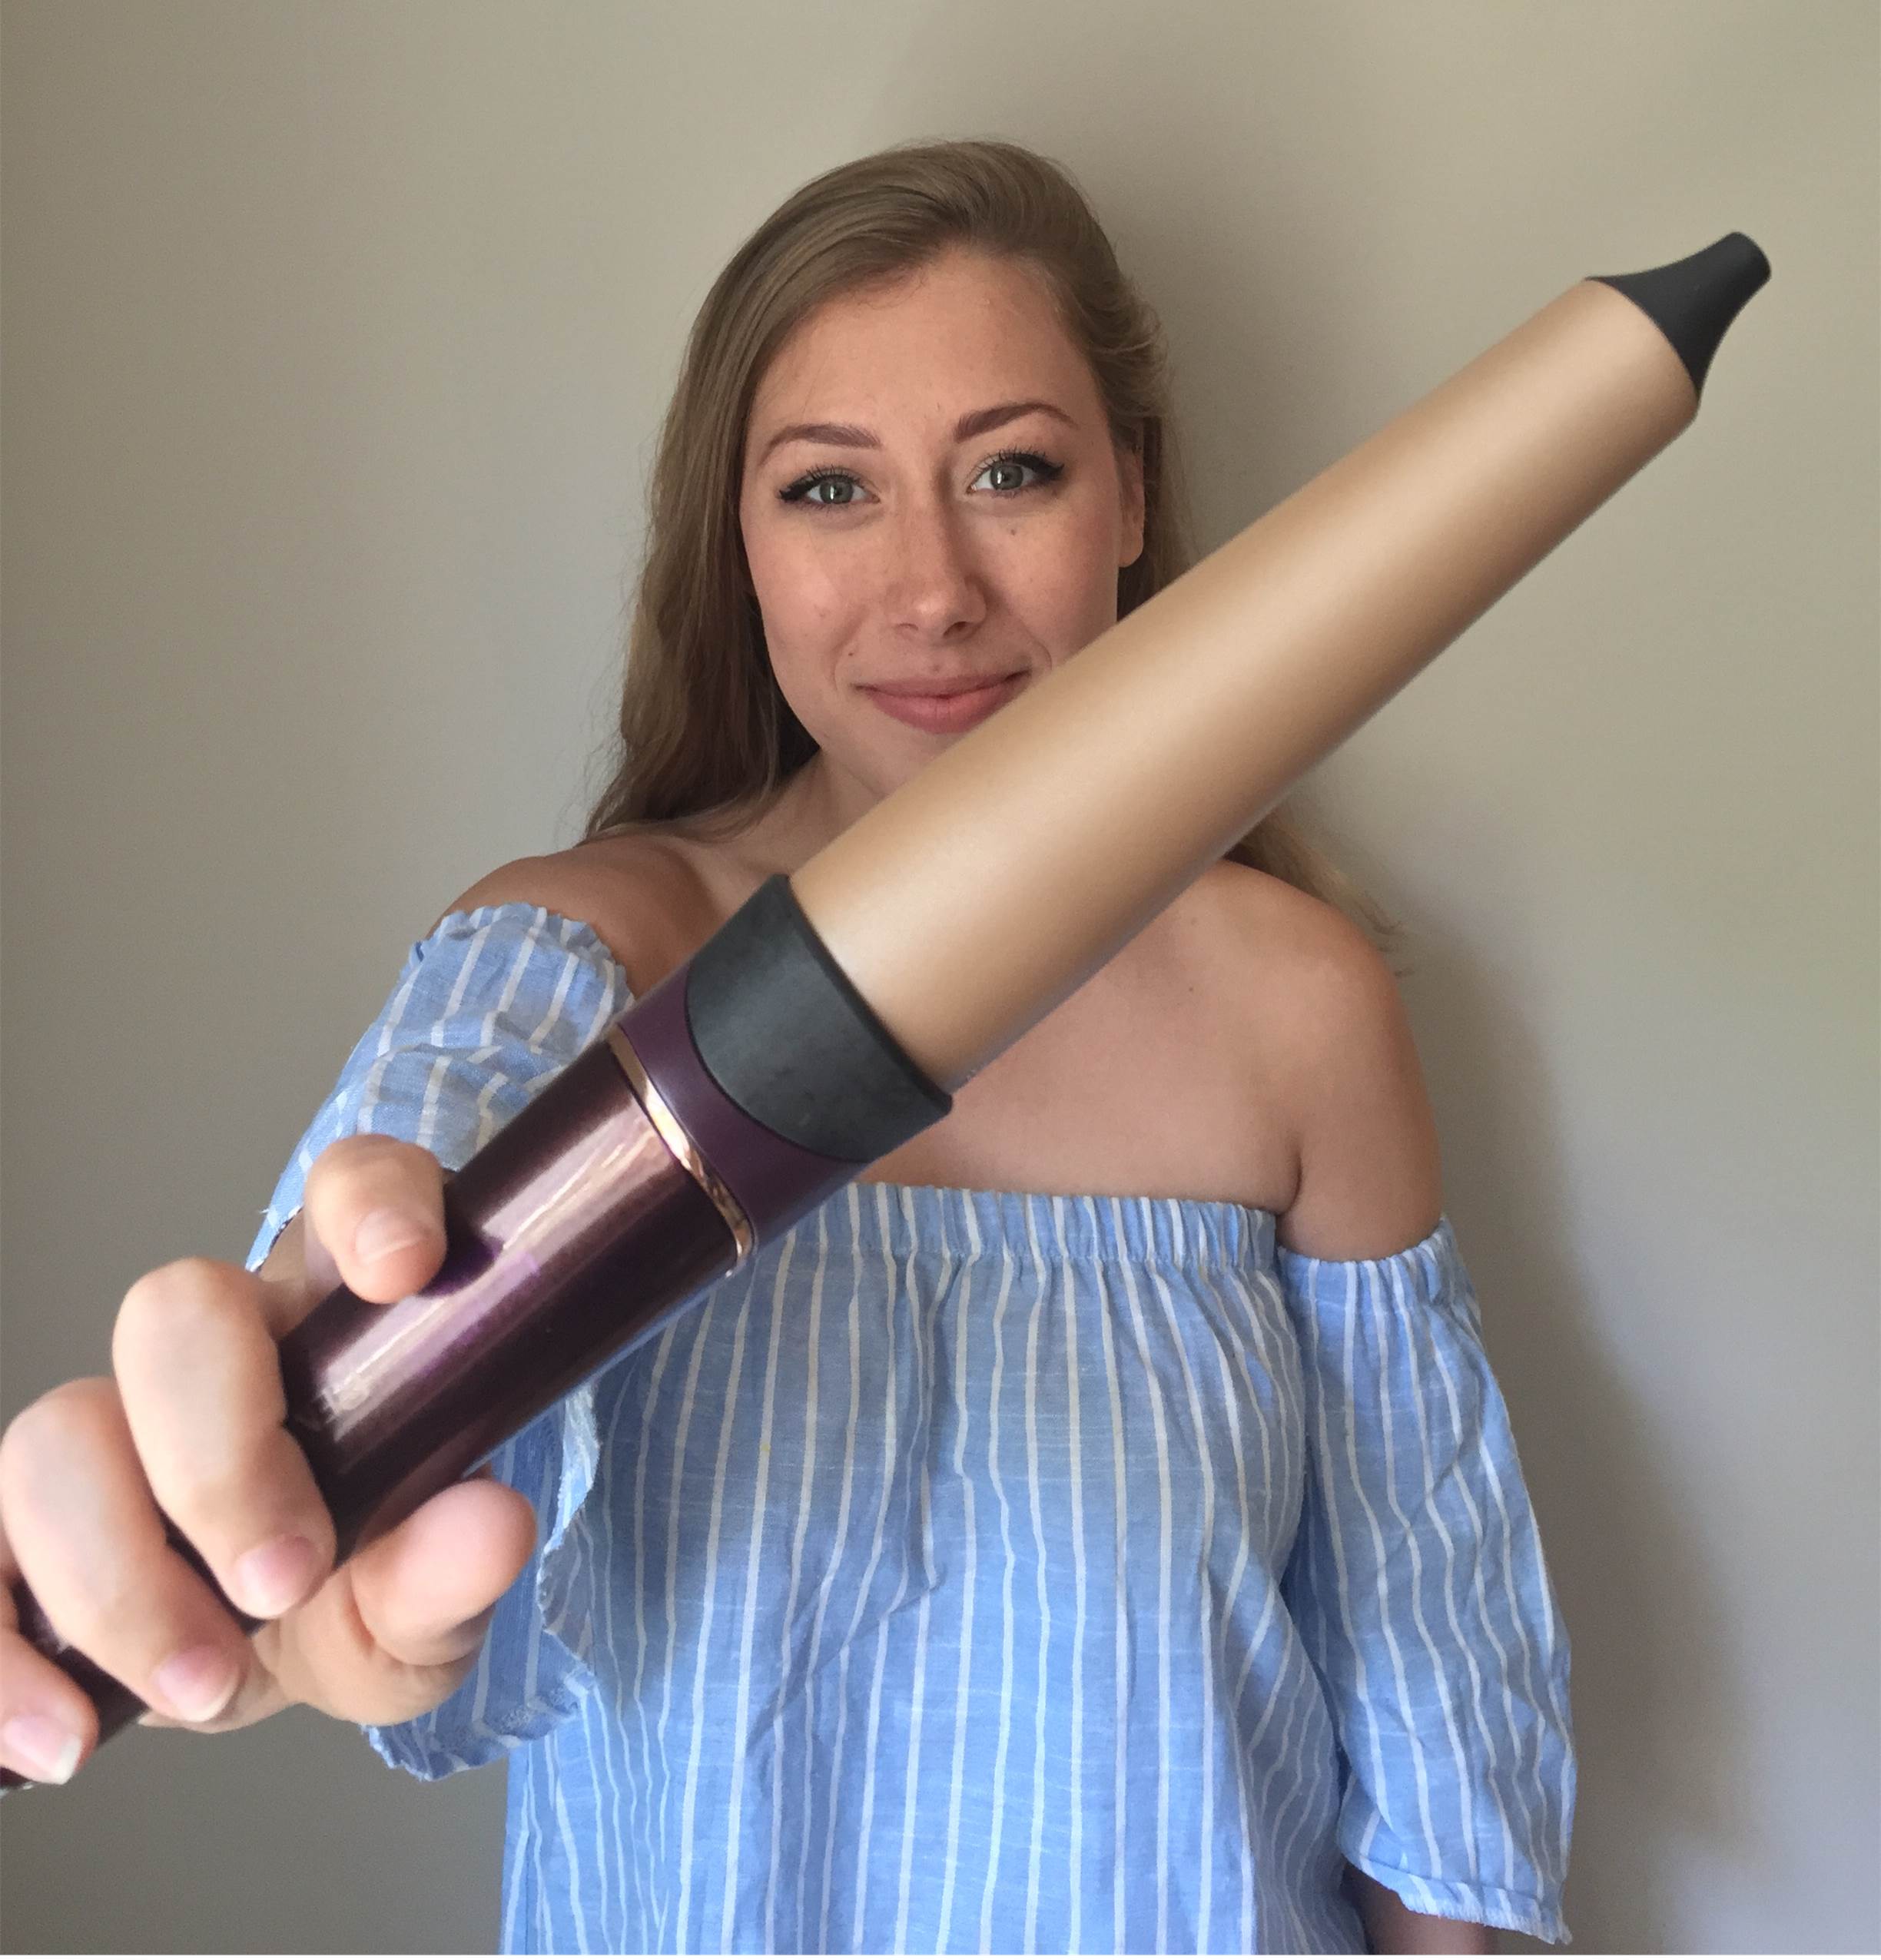
Hey there, everyone! My name is Rachel and I’m a fashion/lifestyle blogger over at my website, Rachel Lynn. I’m back to bring you more fun hairstyles perfect for the crisp Fall weather that is quickly approaching. I don’t know about you, but lately I’ve been so excited for Fall! Apple cider, Halloween, changing leaves and pumpkin everything has got me ready to say goodbye to summer and hello to Fall. So today I’m bringing you 4 of my favorite Fall Hairstyles to do with a curling wand. For these tutorials I’ll be using my Remington T|Studio Thermaluxe Curling Wand. I love how fast this wand heats up and how quickly it actually curls my hair! For a girl on the go, this wand is a must.
Curls & Volume
Everywhere I look lately, people are all about voluptuous hair. Not that people haven’t been dying for volume since the beginning of time, but lately I’ve been seeing volume on top of volume—especially on the runway! This hairstyle is super easy to create. Start with your basic curl using your Thermaluxe curling wand. Wrap your hair around the wand, leaving as much space in between each strand on the barrel as possible. When there’s more space on the barrel, your curls will turn out looser and fuller!

After that, I take my hands, hold small sections of my hair and push up on the rest of it. This isn't quite like teasing hair - although if you want even more volume that will definitely work - but it will still get the job done!
Greek-Inspired Twist
This style is even easier than the last! I like to start with a curled base, because the curls give my hair more volume. Who doesn't want more volume in their hair?! After the curl, place the hair band on top of your hair - not underneath it. Then, simply take sections of your hair and curl them up, over and then underneath of the hair band. This gives the circular twist look.
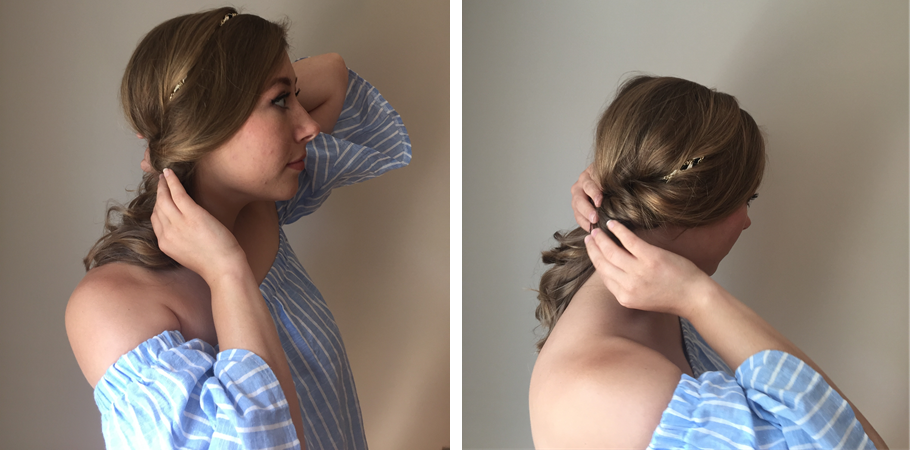
I always mess around with mine a bit, pulling some strands looser here and others tighter in order to give the desired effect.

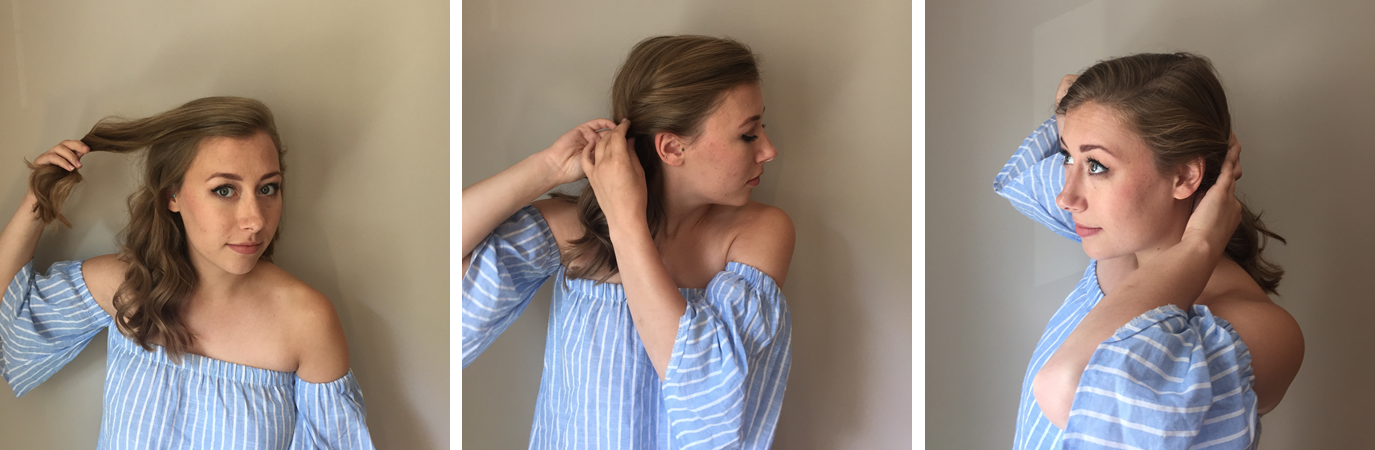
Pony Tail Twist
This look is very similar to the Greek-inspired twist, but with a ponytail. I start by sectioning off section of hair towards the front of my head and twisting it back towards the base of my head. You can make this twist as tight or loose as you want. I usually add in hair as I get closer to the base of my head.
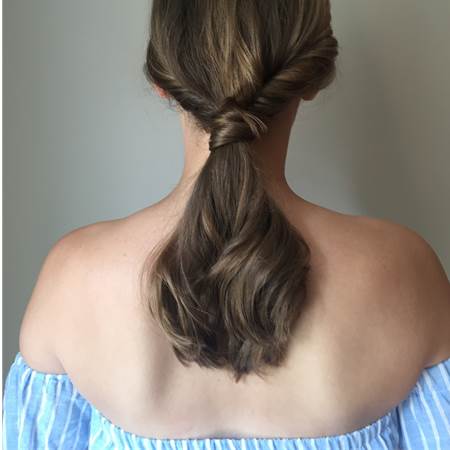
Once you do this to both sides secure tightly with a hair tie. Low ponytails are HUGE this fall. I've seen them all over the runway, and this look would be perfect with a sweater and a scarf. I always like to take a piece of hair and wrap it around the hair tie. I feel like this gives the look a cleaner effect - much more chic!
Knots, Knots and More Knots!
If there's one thing that the runway is crazy about - besides vintage accents and 80's inspired hair - it's knots! Any and every type of knot! Some of them look super crazy and messy and other a very prim and proper. I'm the personality that loves a little craziness. Maybe that's because I'm always in a rush when I'm doing my hair, but if I can pull off the 'chic mess' then it's a good day! Again, I curled my hair before hand to give my knot more volume. For this style, I simply took my hair and twisted it into a ballerina-esque bun on the lower part of my head.
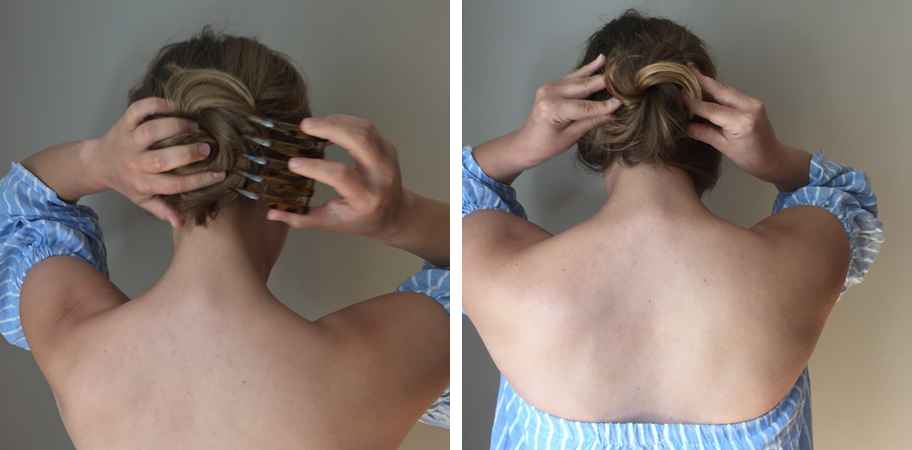
I secured it with my Remington Large Sweep and Style Barrette and was good to go!

I love having my hair curled with this style, because then I can pull out a few strands of curled hair and give off that 'messy' vibe.
I hope these fall-inspired hairstyles bring you as much joy as any pumpkin spice latte could give you! Happy Fall!
xoxo,
Rachel Lynn